Diy Acrylic Calendar
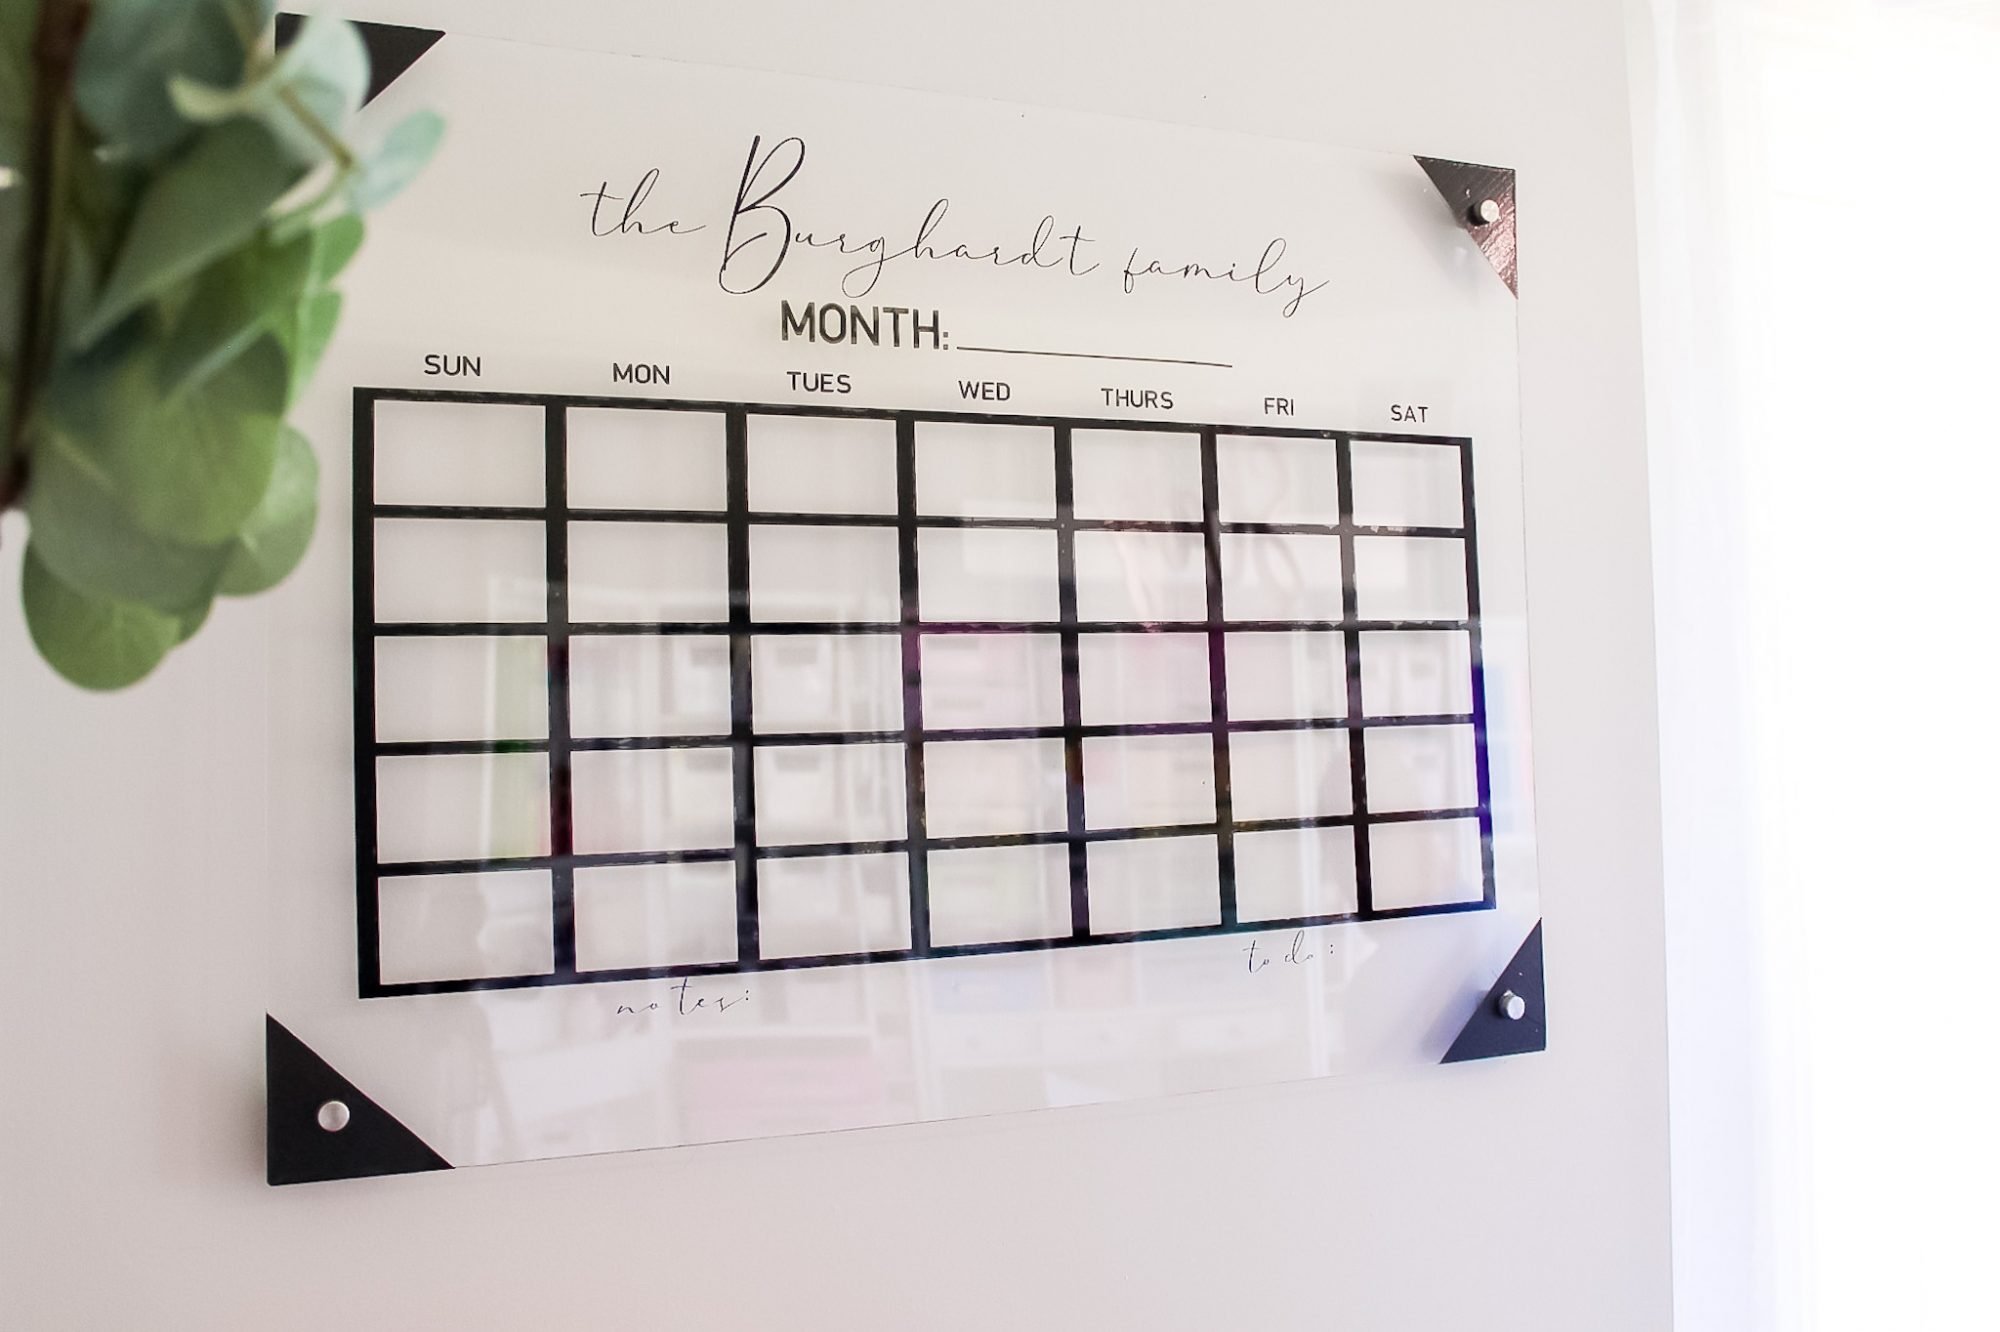
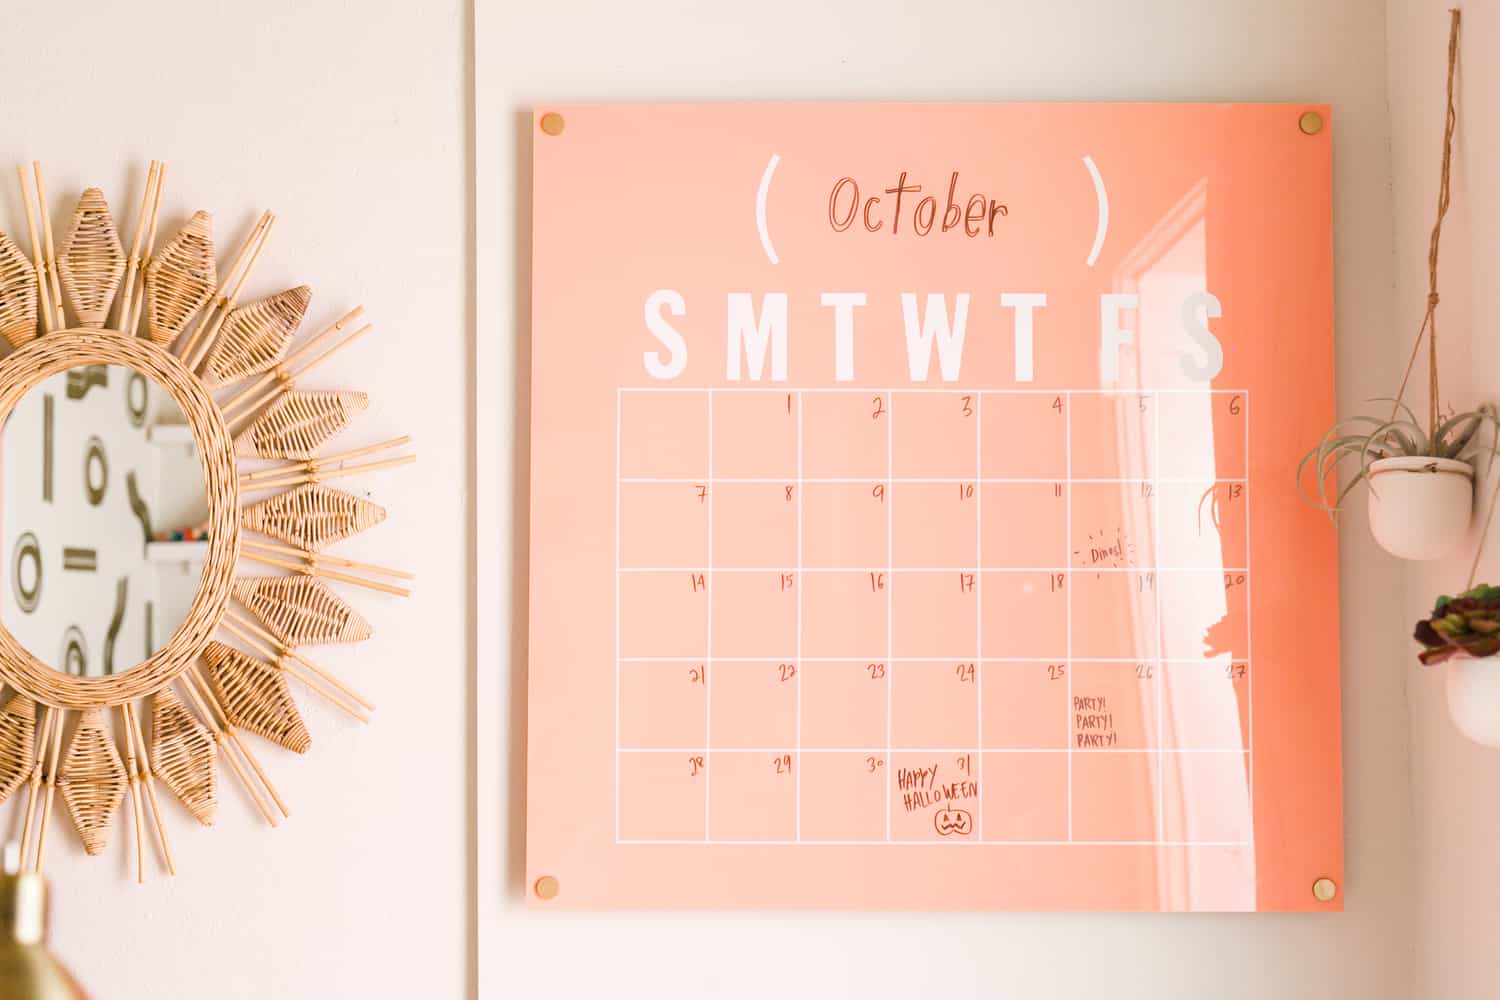
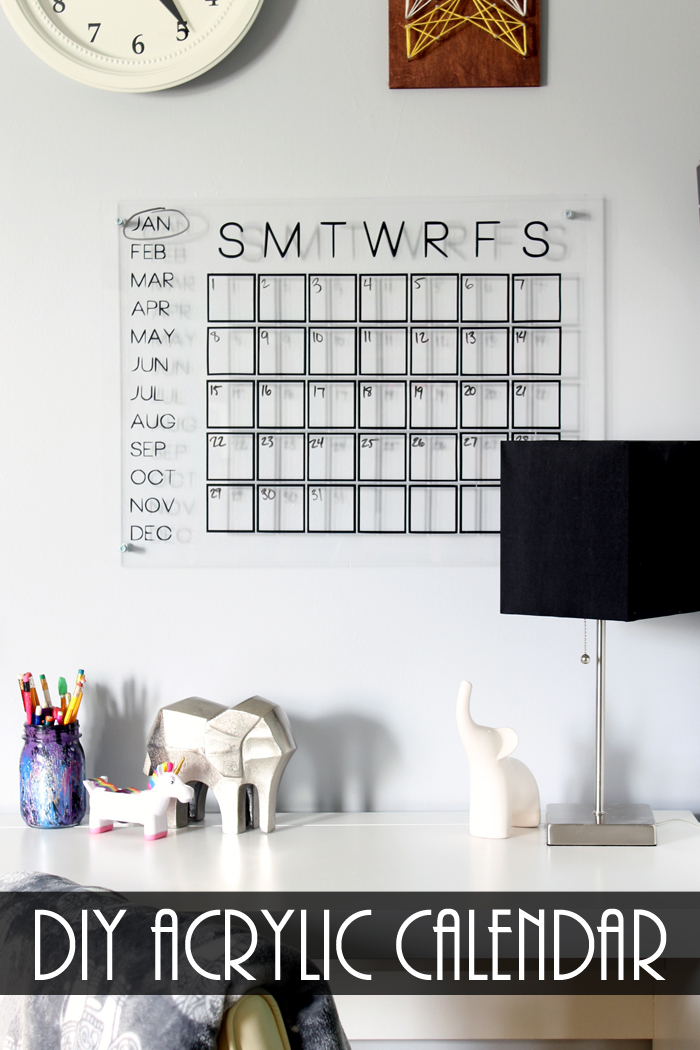
Diy Acrylic Calendar - Leap of faith crafting home » cricut » cricut projects affiliate disclosure: I decided to hang the acrylic sheet horizontally on the wall, and since i had a magnetic board for the side, i designed the vinyl to take up the whole 30”x36” space. On (pic 1) (muy importante) walkthrough: Web plexiglass sheet (i used an 18″ x 24″) cricut machine (or another electronic craft cutter) black vinyl (or another color of your choice) weeding tool transfer tape drill and drill bit ruler screws metal spacers (optional) metal washers (optional) dry erase markers calendar image file (see below for how to download for free) free calendar svg file Drill holes in the 4 corners of the sheet. Allow to dry while you work on the rest of the project. This allowed me to still have 6 inches at the top for my days of the week and months and 6 inches at the bottom for a notes sections. Vinyl+ (pic 3) mirror mode: Tall and about 5 in. Create the letters of the. Cut your hologram paper into 35 rectangles that are 2.25″ wide and a little less than 3″ wide. On (pic 1) (muy importante) walkthrough: Drill holes in the 4 corners of the sheet. How to make a stunning diy acrylic calender 1. Most acrylic boards will come covered in a protective. I used my calendar design to plan out the calendar. Spray paint your mounting hardware. Web stylish diy acrylic calendar under $40 dress up your home and make a stylish acrylic calendar for less than $40 with a few simple supplies in less than 2 hours. Web plexiglass sheet (i used an 18″ x 24″) cricut machine (or another electronic. Create the letters of the. Next, use a weeding tool to remove all the excess vinyl around the calendar design. Web using washi or painter’s tape, tape off a 12×22″ area at the bottom of your calendar. Piece i made my squares 4 in. I let the pieces dry while doing the. Create the letters of the. How to make a stunning diy acrylic calender 1. Tall and about 5 in. Since i used an 18″x24″ acrylic sheet, i went with the ¾” diameter x 1”. Piece i made my squares 4 in. Space them into 5 rows of 7 and use glue dots to secure them in place. Circle important dates or write notes with dry erase markers for. You may have noticed that your acrylic sheet came with a frosted protective covering on. Next, use a weeding tool to remove all the excess vinyl around the calendar design. Web stylish diy. I let the pieces dry while doing the. Make your own pottery barn inspired acrylic wall calendar for a third of the price! Piece i made my squares 4 in. We made this acrylic wall calendar tutorial super easy with a free.png file to create with your cricut! Next, use a weeding tool to remove all the excess vinyl around. Spray paint your mounting hardware. Allow to dry while you work on the rest of the project. Vinyl+ (pic 3) mirror mode: You can either design your own calendar or download my free template. I used my calendar design to plan out the calendar. Circle important dates or write notes with dry erase markers for. When spacing out things like this, i like to get the top and bottom rows spaced. To begin making my diy acrylic calendar, i purchased a 36” by 48” piece of acrylic sheet. Spray paint your mounting hardware. On (pic 1) (muy importante) walkthrough: By using some painting pens and my free cut file, you can whip one up in no time! This post contains affiliate links, which means i make a commission if a purchase is made through the links at no additional cost to you. Start off by measuring your lines and marking them on the piece of acrylic with an expo. When spacing out things like this, i like to get the top and bottom rows spaced. Plus it includes a free printable 2015 calendar. Web diy acrylic calendar step 1: Web using washi or painter’s tape, tape off a 12×22″ area at the bottom of your calendar. As an amazon associate, i earn from qualifying purchases. Space them into 5 rows of 7 and use glue dots to secure them in place. Love the gold detailing to hang on your wall! By using some painting pens and my free cut file, you can whip one up in no time! Piece i made my squares 4 in. To access my design just. Web stylish diy acrylic calendar under $40 dress up your home and make a stylish acrylic calendar for less than $40 with a few simple supplies in less than 2 hours. Web 94 7.6k views 1 year ago learn how to make your own acrylic wall calendar with this affordable diy tutorial using a cricut, hardware store plexiglass & sign hardware off amazon. To begin making my diy acrylic calendar, i purchased a 36” by 48” piece of acrylic sheet. Leap of faith crafting home » cricut » cricut projects affiliate disclosure: Web diy acrylic calendar step 1: We made this acrylic wall calendar tutorial super easy with a free.png file to create with your cricut! Drill holes in the 4 corners of the sheet. Using a drill bit, set your drill in reverse* and place a piece of wood behind the acrylic for support. When spacing out things like this, i like to get the top and bottom rows spaced. Tips for maintenance conclusion faqs introduction to acrylic calendars have you ever glanced around a room and become enamored with a single item that combined elegance and utility? Vinyl+ (pic 3) mirror mode: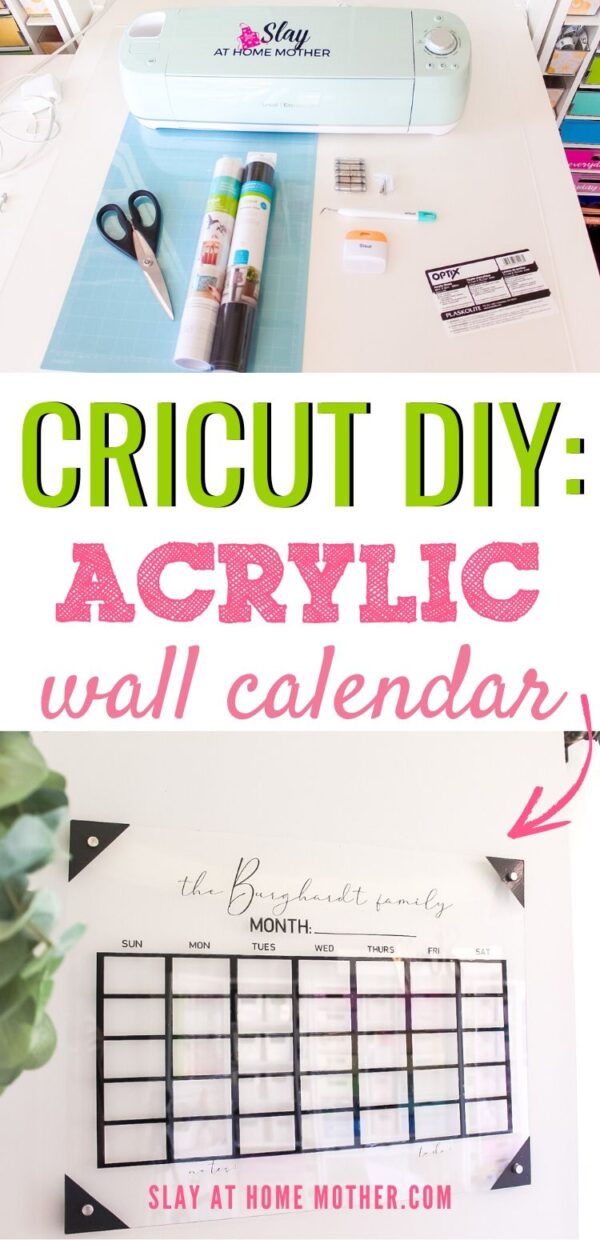
Easy DIY Acrylic Calendar For 25 With The Cricut Explore Air 2
DIY Acrylic Calendar A Beautiful Mess

DIY Acrylic Calendar — Kristi Murphy DIY Blog

Stylish DIY Acrylic Calendar Under 40 Bianca Dottin

Acrylic Wall Calendar DIY with FREE Cut File! Leap of Faith Crafting
Easy DIY Acrylic Calendar For 25 With The Cricut Explore Air 2
DIY Acrylic Frame Calendar and Whiteboard YouTube
Easy DIY Acrylic Calendar For 25 With The Cricut Explore Air 2
Easy Oversized Acrylic Calendar HandMade Finest
DIY Acrylic Calendar for Organizing The Country Chic Cottage
Web Diy Small Acrylic Calendar (Via Www.hallmarkchannel.com) This Small And Comfy Acrylic Calendar Is A Cute Idea, The Letters And Tables Are Designed On The Computer And They Are Done In White To Make Calendar More Neutral On The Wall.
Circle Important Dates Or Write Notes With Dry Erase Markers For.
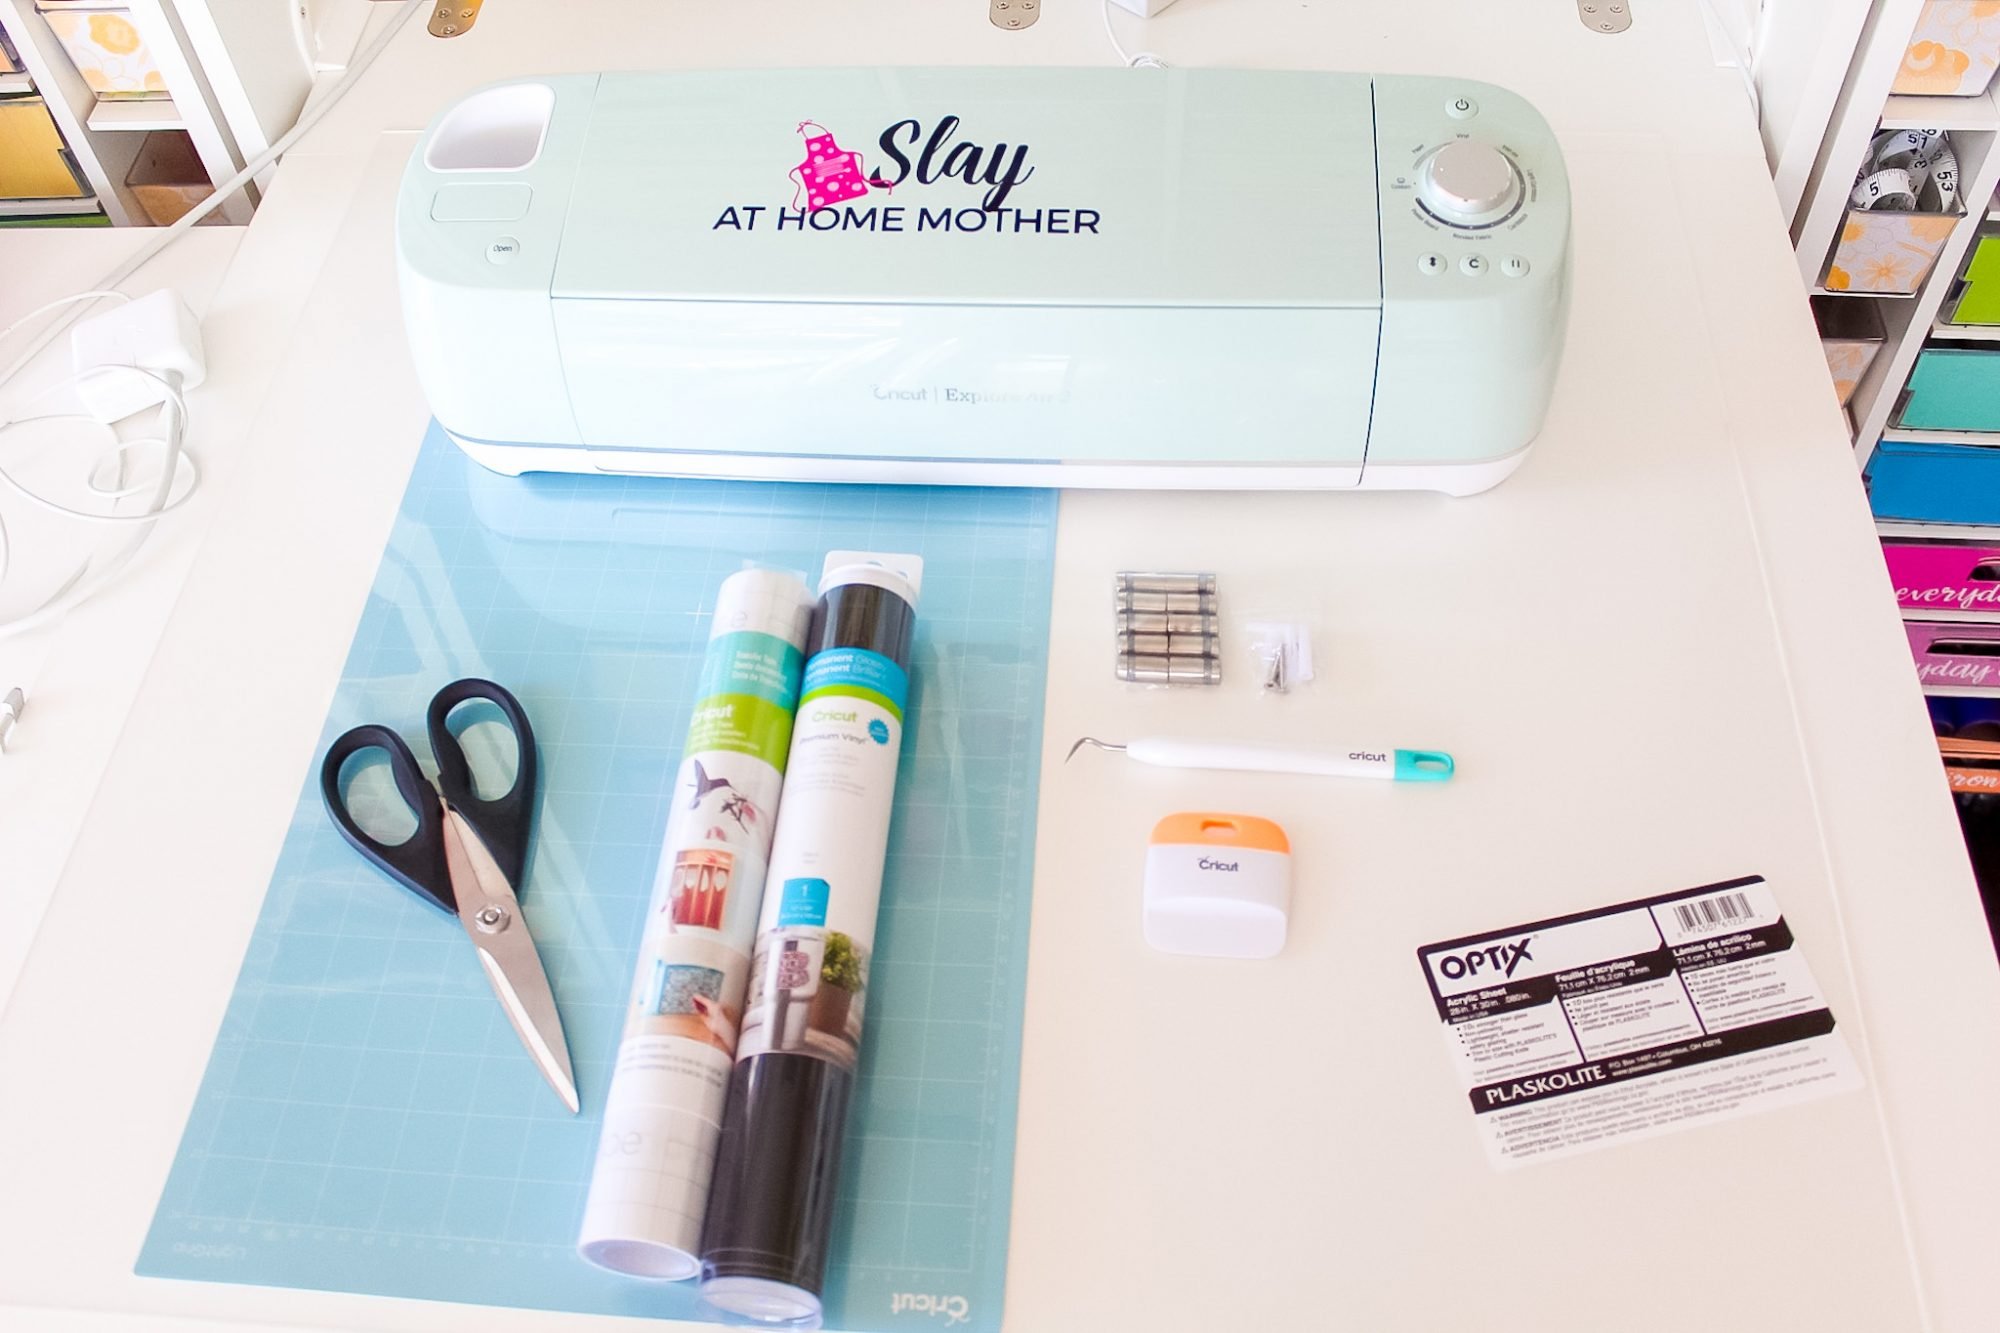
Web Plexiglass Sheet (I Used An 18″ X 24″) Cricut Machine (Or Another Electronic Craft Cutter) Black Vinyl (Or Another Color Of Your Choice) Weeding Tool Transfer Tape Drill And Drill Bit Ruler Screws Metal Spacers (Optional) Metal Washers (Optional) Dry Erase Markers Calendar Image File (See Below For How To Download For Free) Free Calendar Svg File
Cut Your Hologram Paper Into 35 Rectangles That Are 2.25″ Wide And A Little Less Than 3″ Wide.
Related Post: